Your Cart is Empty
Luggage
Apparel
Events
The Mosko Blog
Apparel Update
March 23, 2015
Apparel Update
March 23, 2015
Apparel design is a lot different from bag design. For one thing, with apparel we start on the computer from day 1 with all the patterns generated from CAD drawings, whereas with bags we start out making the physical pattern-pieces ourselves. With apparel we communicate with the factory using drawings and measurements – as opposed to patterns and samples with bags – and there are long delays between sample rounds. After a year of development work and three rounds of prototypes, we’re still working through some basic issues related to sizing and fit. It almost feels like we’ve had to reinvent “the jacket” and “the pant” from scratch.
It takes a team of 4 sample-makers working two full days to make one jacket. Once the sample is complete, making further changes to it is not simply a matter of tailoring and tweaking. The garments are so complex and the pattern pieces so interconnected that any change in one area will necessitate changes in many other areas as well, and those changes need to be made to the CAD design before the new sample is made. You can’t just take the last sample and modify it on a sewing machine. A whole new set of patterns has to be created, new fabrics cut, and the whole process starts again. It’s very time consuming, and the sample makers are very busy.
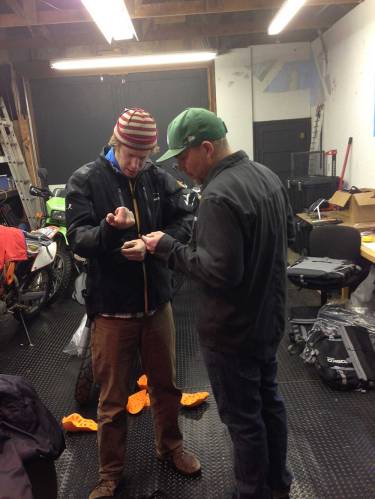
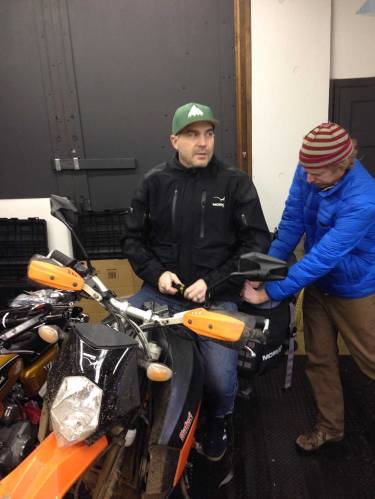
The good news is that the outer jacket, inner jacket, and jersey are all getting much closer. In fact the inner rain jacket and jersey have been basically done for months. And the pants are getting closer. A few months ago, right before I left for Vietnam, we received our latest samples using the Schoeller c_change 3-layer waterproof breathable fabric that we had been waiting on. Galen, Andrew, and I met in White Salmon to go over them.
Outer Jacket
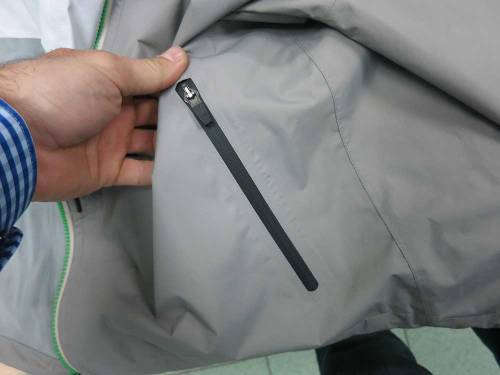
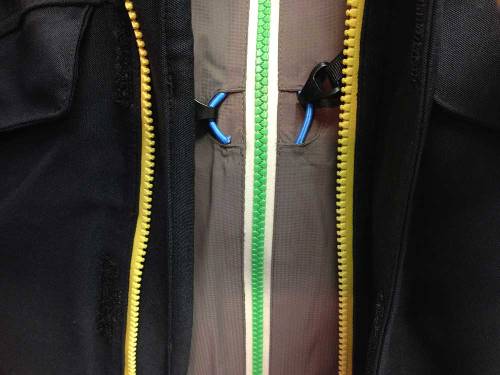
We’re using these GETBLOCK drysuit-style zippers on the chest vents for extra waterproofing. The chest vents are very exposed to wind/rain, and they sit relatively flat, so these zippers will work there.

For flap control, we added these three straps down the side. However we didn’t like this design because it doesn’t work right, and also it looks like a straight-jacket. So we decided to go with some heavy-duty hypalon/velcro straps instead.
We didn’t like these sleeve adjustment straps either. We changed these to hypalon as well.

We’re using this cool waterproof pocket closure. The opening is on the bottom of the storm flap so it sits upside down when the flap is closed. Magnets keep the flap down. On the next sample round we decided to change these pockets to be hand pockets, however we’re still using this design for the pockets on the pants.
Here’s the original prototype (left) compared to the second round prototype (right). Making progress.

Inner Rain Jacket
The inner rain jacket doesn’t “look” like a rain liner. It looks like a normal jacket. So you can wear it around camp, into town, etc. It bugs me that when I go on longer trips, I have my moto jacket with me but then I typically also have a “normal” jacket as well. This inner jacket is designed to be both. It can be worn together with the outer jacket or worn on its own, either on or off the bike.
A natural question might be: why have an inner rain jacket if the outer jacket is totally waterproof? For 90% of the rain you’d encounter you won’t need the inner jacket. However, that one time when you find yourself in a multi-day storm with no option of waiting it out or going around, the amount of water being thrown at the jacket is just way beyond what any other kind of garment has to withstand. 70mph in driving ran for several days in a row is going to put any waterproof breathable garment to the test, especially if it has a mechanical venting system, which most motorcycle jackets do. Water can find a way in through the sleeve openings, neck opening, bottom opening, any zippers/vents that are not fully closed, etc. A few hours of rain is one thing, but a 3-day deluge is a whole different story. That’s where the inner jacket comes into play. The outer jacket blocks all the wind/water pressure, then the inner jacket is a final barrier to keep your inner insulating layers 100% dry, even if water finds a way through somehow.
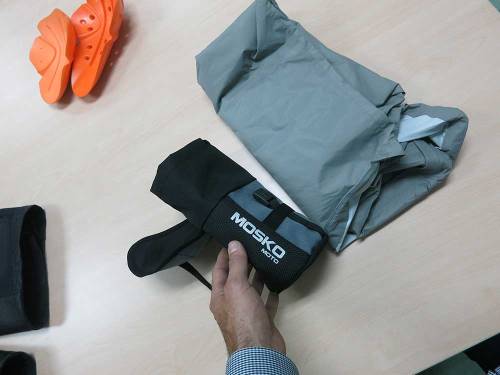
The inner jacket is a 2-layer waterproof breathable fabric with a removable hood. The jacket packs down into a small MOLLE pouch/stuff sack when not in use. It has a removable hood with a slim profile, so you can wear it under your helmet to keep water from running down the back of your neck.

This is how it connects to the outer jacket. There are 4 of these clips on the front, two on the sleeves, and one behind the neck. It’s really easy to get on/off.
An early version of the MOLLE stuff sack.
Outer Pants
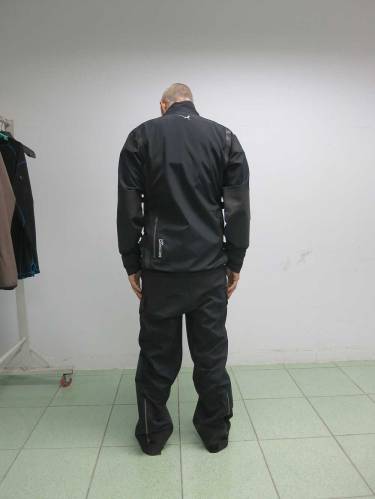
The outer pants have been the most difficult for us to get sized correctly. The first round samples were made for a giant (left), and the second round weren’t much better (right). The sizing is so far off that it’s actually been kind of tough to evaluate the other features.
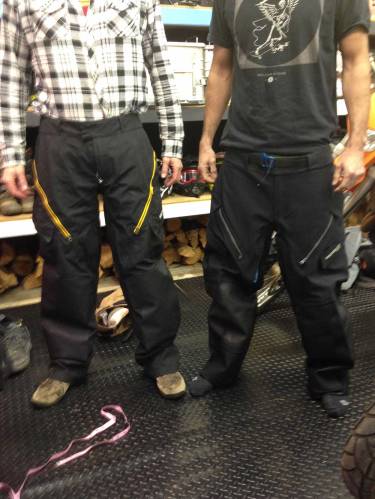
We’re making the cuffs super beefy, with lots of super fabric and leather, since this area takes so much abuse, and also comes into to contact with the hot engine/exhaust.
We were using these 3/4 length inner liners, however we found that when we were putting them on or taking them off, our feet were getting caught on the liner, so we changed them to a full-length liner.
Riding Jersey
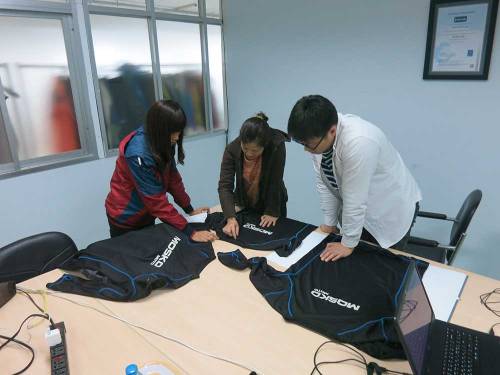
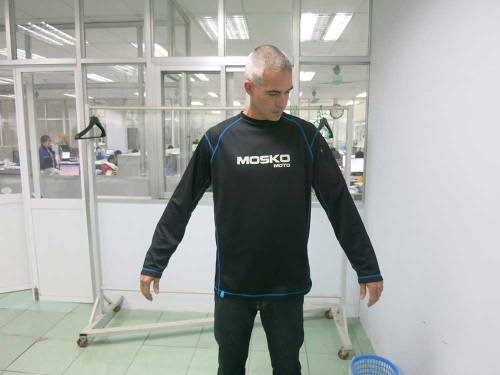
The jersey is pretty much done. I wore it on the moto trip through Vietnam this winter and it worked great. This is made from a mesh-type fabric. Here it is without a pressure suit.
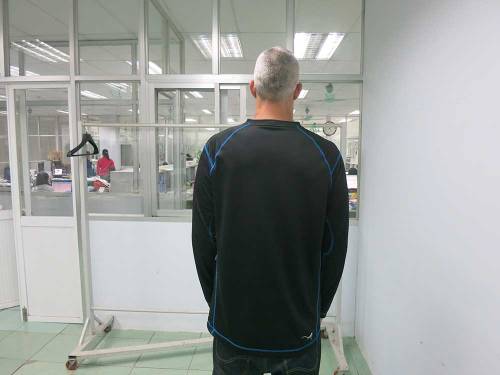
And with a pressure suit,
Factory Trip
We put together a big set of revisions and sent it off to the factory. Four weeks later, I met with the factory and reviewed the revised samples in person, bringing them back to the US with me after the meeting. They were still working on our samples when I arrived.
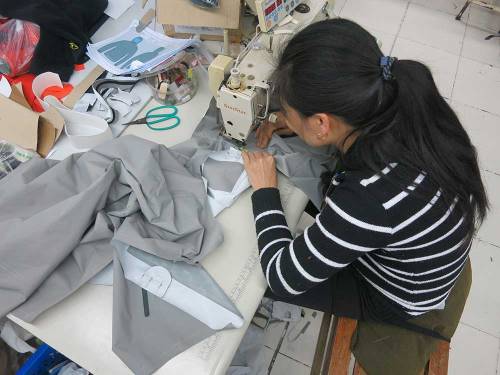


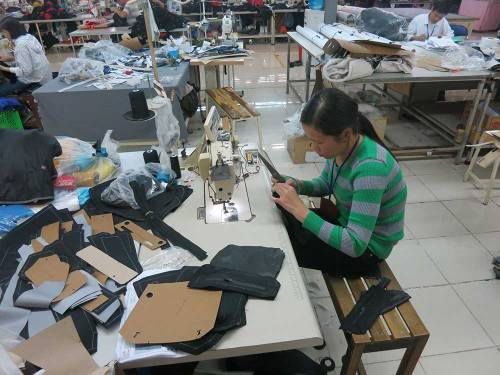
The outer jacket is looking good.
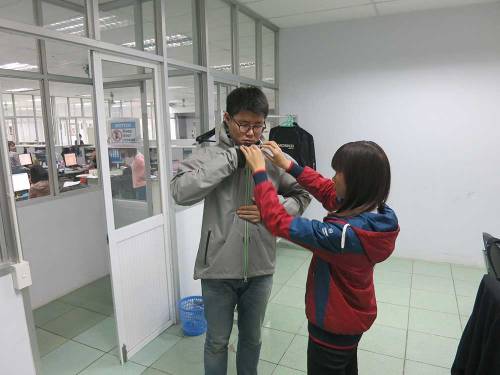
The hypalon adjustment straps work great. You can really get a very custom fit by setting them to the correct length.
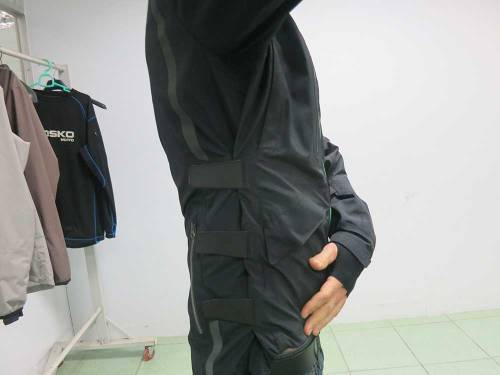
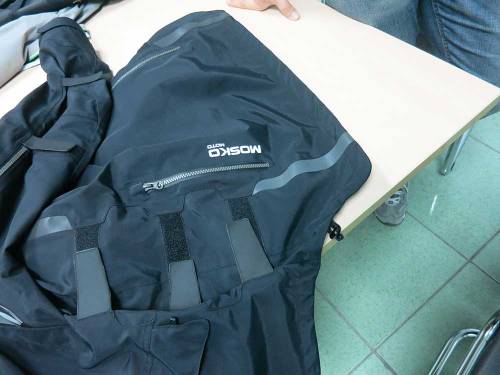
We worked on a design for the molle stuff sack for the outer rain jacket.
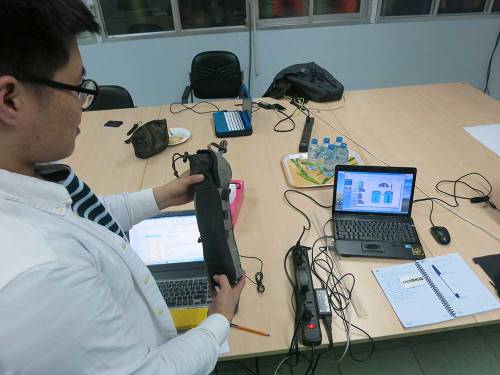
The pants were still too long and baggy. Plus the knee armor and outer protection was sitting like 4″ below my knee. Also the thigh-vent zipper were impossible to close, they were getting caught in the liner material. More work to be done here.
On the inner jacket we added a neck loop both inside and outside the collar, so you can connect it to the outer jacket in either spot depending on whether you need the hood or not. If you’re not using the hood but want to leave it attached to the jacket, just tuck it inside the outer jacket and use the inside attachment loop.
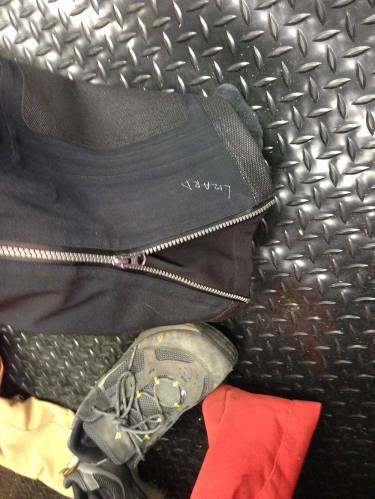
Waterproof zippers on the rain jacket.
On the jersey we ran into an interesting issue. The sample room had switched threads on the neck sewing, and the new thread did not stretch at all, which made the jersey really hard to put on. Fixed that.
The jersey has this little stash pocket on the sleeve.
And also this little internal pocket at the bottom near the waistline

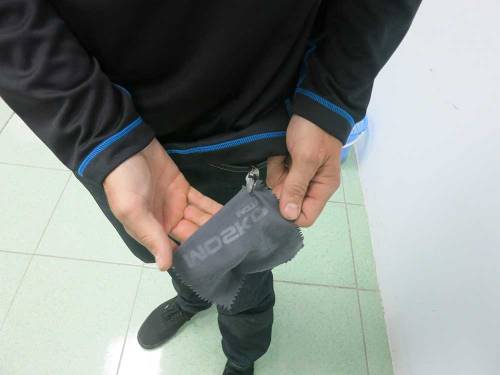
In the inner pocket we put a shammy for cleaning goggles or face mask. It has an alligator clip holding it there, so you can disconnect it for use.
Also added thumb holes on the jersey, so you can get your arm in the outer jacket without the sleeves pulling up.
Fabric Selection
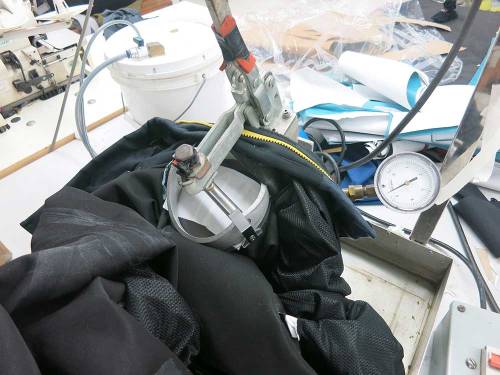
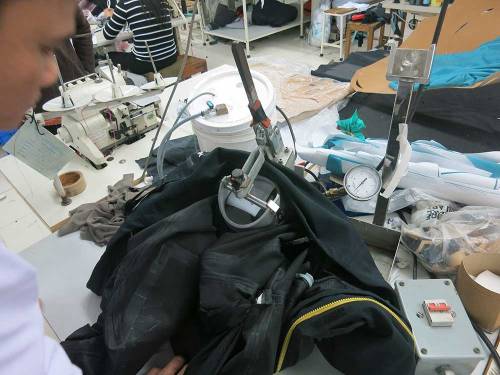
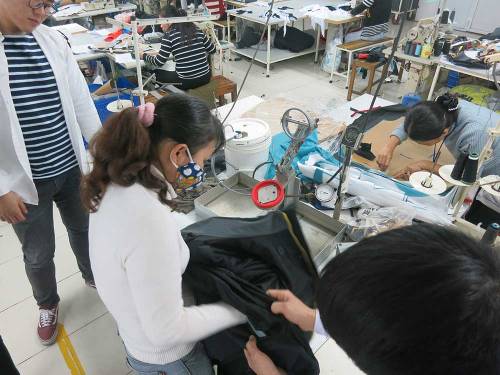
While I was there we did some waterproof testing on the Schoeller fabric. They have this machine that clamps down on the fabric like a mason jar. Then they force water under high pressure against the “wet” side of the fabric. On the “dry” side they put a piece of white tissue paper so you can see if any water is getting through. We ran this test all over the jacket, on pretty much every seam and panel, and for several minutes in every location.
Here’s a couple of video clips of us running the waterproof test on different parts of the jacket.
We found some inconsistencies in the fabric. That surprised me, because Schoeller is a super-premium brand used by a lot of high-end gear manufacturers. It’s extremely expensive, about 50% more than gore-tex. So I was really surprised to see water getting through in a couple of places. That shouldn’t be happening, so now we’re back on the hunt for a new fabric. We’re leaning toward Toray, but not the original kevlar weave we used. Our friends at Kuiu, Trew Gear, and Stio all use Toray and swear by it. We reached out to our contact there a few weeks ago and we have a whole bunch of new swatches to look through.
In other news
– Thanks for all the Reckless pre-orders! We’ll keep everyone up to date on scheduling. We just received word of a labor strike. Hoping it won’t affect the dates.
– The first couple BMW adapters shipped out last week. Hoping to get some pics/feedback on those. We placed a small production order with the laser cutting shop.
– The next batch of wedges/frames is being milled right now. As soon as those are done, we can start shipping backcountry panniers again.
– Still working on getting product pics and videos edited and online.
– We have a tank bag prototype! More on that shortly.
Warranty and Crash Replacement
We never cut corners during development or manufacturing, so we stand behind our products. If one fails due to a problem with materials or workmanship, we’ll make it right.
Your are successfully subscribed for email notifications.
Notify me when available
We will send you a notification as soon as this product is available again.
Your email is required
We don't share your email with anybody
x


